 Noise Meter
Why calibrate
Microphones differ between iPhone models and cases, and an iPhone’s microphone is built for voices, not measurement. Noise Meter’s calibration confirms the microphone responds, and if you have a sound level meter, makes your iPhone read what it reads.
Step by step
-
Start the calibration. Open Settings › Calibration. Before you have calibrated, the Calibrate button at the top of the Meter starts it too.
-
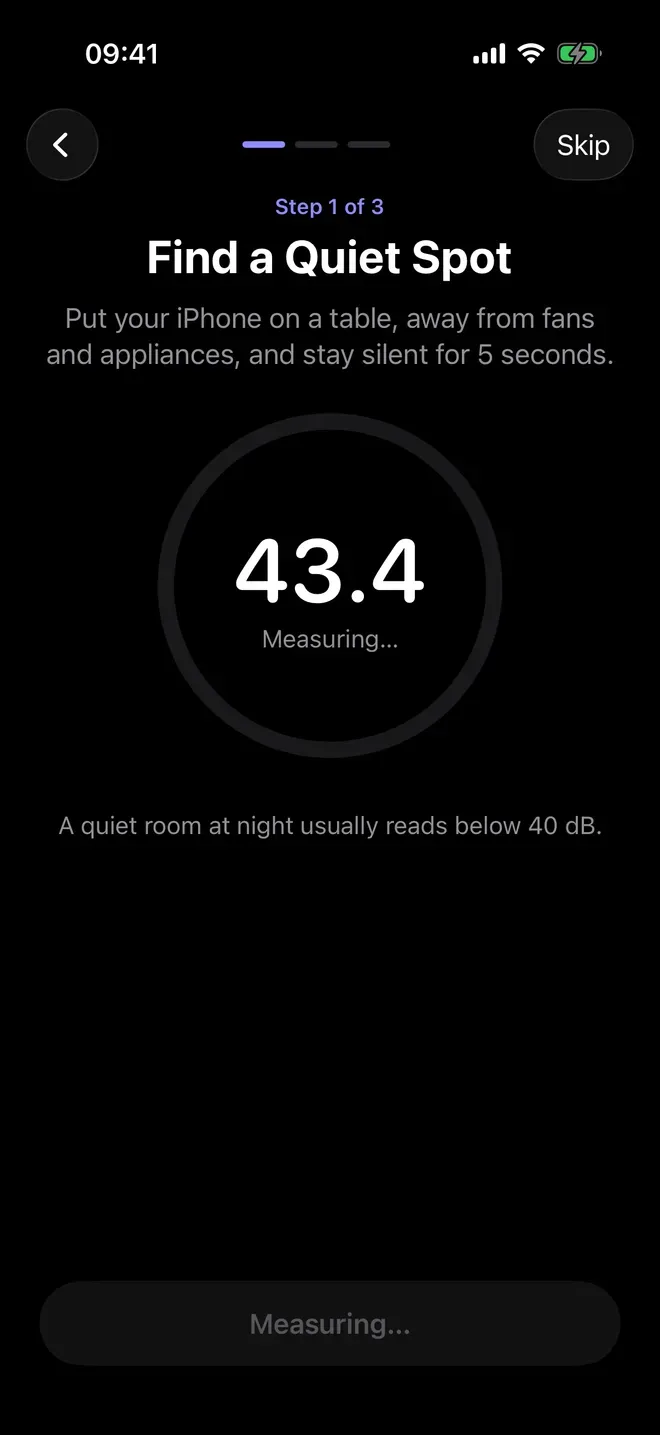
Find a quiet spot. Put your iPhone on a table, away from fans and appliances, and stay silent for 5 seconds. A quiet room at night usually reads below 40 dB; if it reads higher, turn off fans or air conditioning and try again.
-
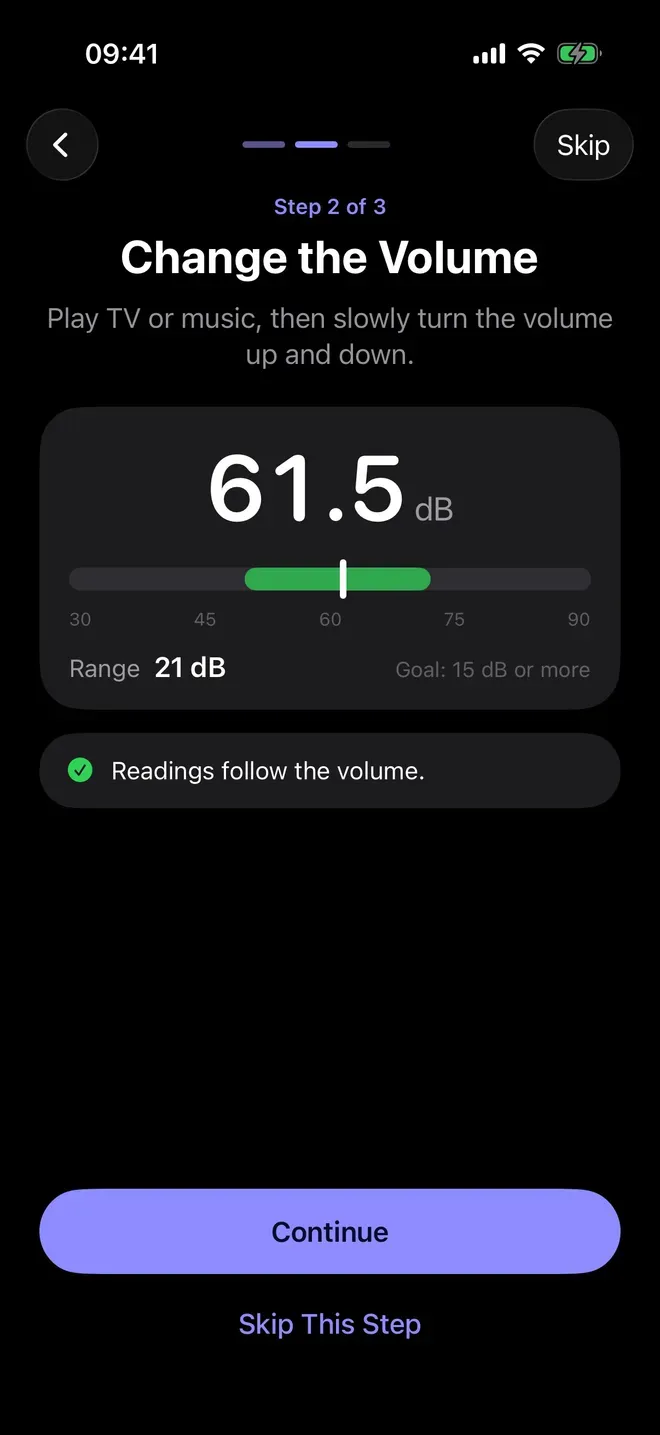
Change the volume. Play TV or music, then slowly turn the volume up and down. The goal is a range of 15 dB or more; Noise Meter says “Readings follow the volume” when the microphone keeps up. Tap Continue.
-
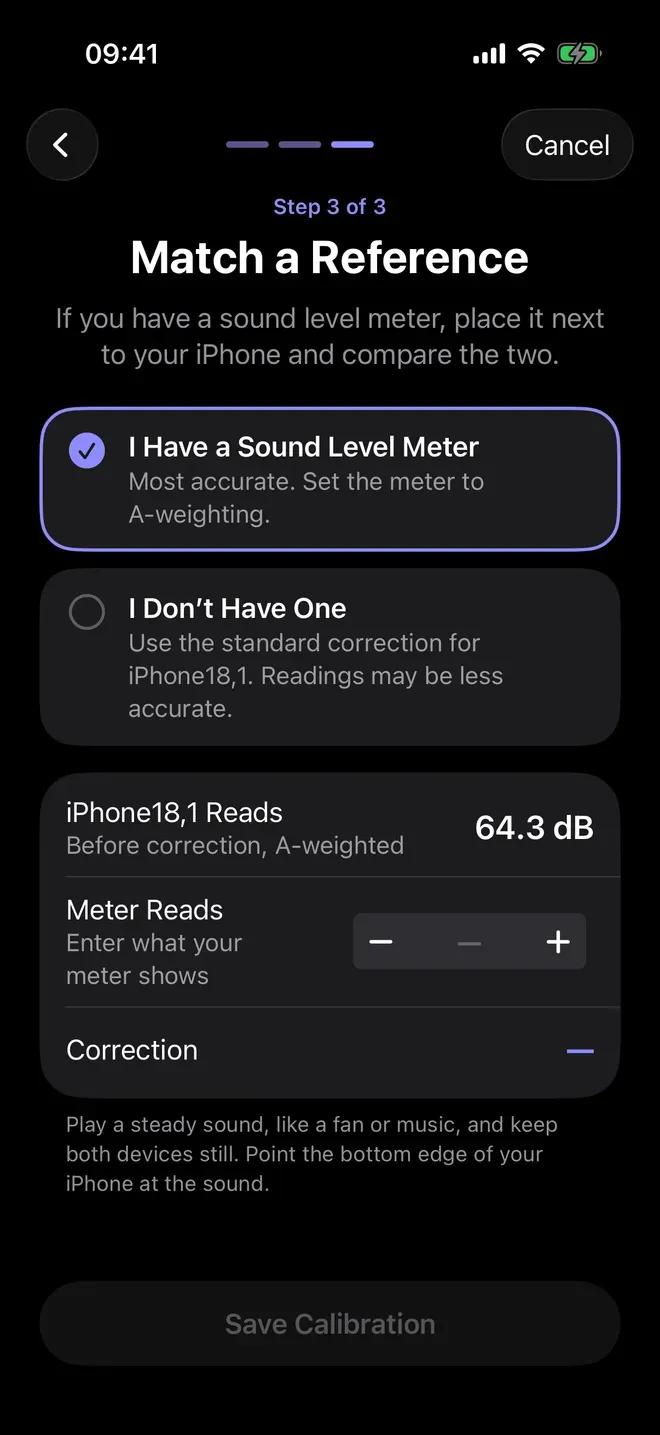
Match a reference. With a sound level meter, choose I Have a Sound Level Meter, set the meter to A-weighting and place it next to your iPhone. Play a steady sound, like a fan or music, keep both still, and point the bottom edge of your iPhone at the sound. Enter what the meter shows under Meter Reads, then tap Save Calibration. Without one, choose I Don’t Have One.
-
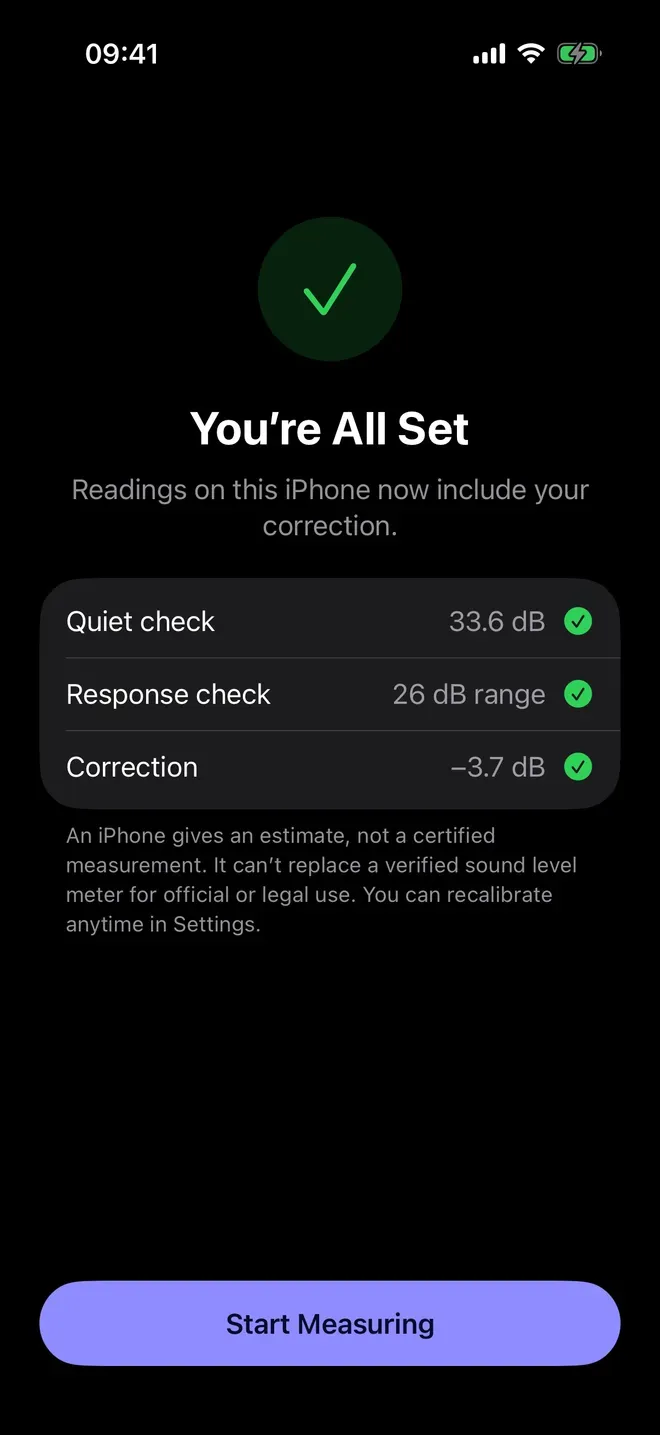
Check the result. You’re All Set lists the quiet check, the response check and the correction. Every reading on this iPhone now includes it.
Change it later
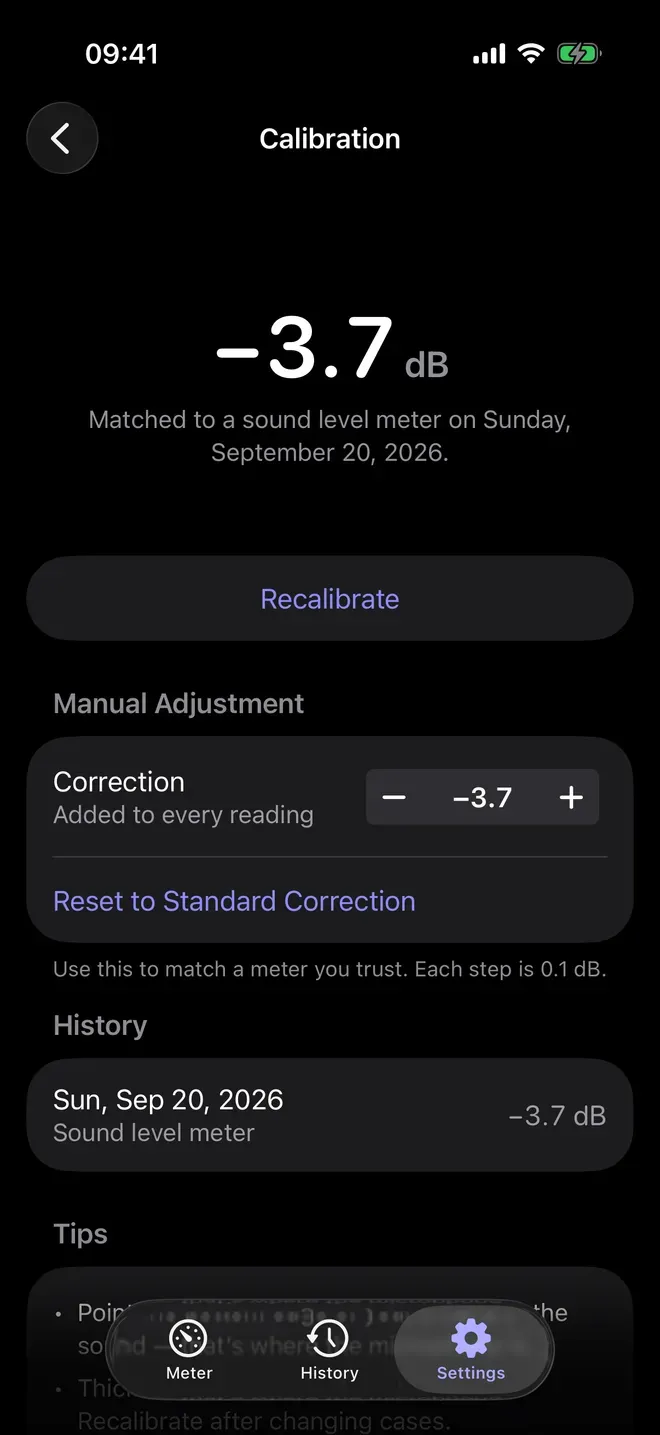
Settings › Calibration shows the correction and the day it was matched. Tap Recalibrate to run the steps again, use Manual Adjustment to change the correction in 0.1 dB steps to match a meter you trust, or tap Reset to Standard Correction. Each recording and share card notes how the iPhone was calibrated when it was measured.
What calibration can and can’t do
- It fixes an offset. Calibration adds one correction to every reading. It can’t fix a microphone that is covered, damaged or overloaded by very loud sound.
- Readings are estimates until you match a meter. Noise Meter doesn’t state a margin of error; until you calibrate against a sound level meter, it uses the standard correction for your model.
- Very quiet rooms have a floor. The microphone’s own noise sets a lowest reading, and the level can’t go below it.
- Not for official use. An iPhone gives an estimate, not a certified measurement, and can’t replace a verified sound level meter for official or legal use.
Other ways to do it
- Borrow a sound level meter once. Noise Meter keeps the correction you save, so one session with a meter is enough until you change your case.
- Compare two phones only if one of them has been matched to a meter: two uncalibrated phones can show they differ, not which one is right.
Questions people ask
Do I need a sound level meter to calibrate?
No. The quiet and response checks need only a quiet room and a TV or music, and Noise Meter then measures with its standard correction for your iPhone model. A sound level meter adds a correction that matches your own iPhone.
Should I calibrate again after changing my case?
Yes. Microphones differ between iPhone models and cases, so recalibrate after you put on a new case: Settings › Calibration › Recalibrate.
Can I calibrate during a recording?
No. A recording is measured with one correction from start to end, so calibration waits until you stop it.

Get Noise Meter
Decibel meter with date and time

On the App Store as “Noise Meter - Decibel Level”.